
Here is an online video demonstration of how to use Photoshop Paths. I highly recommend that you take a look at them all.
Photoshop Paths
You will need Windows Media to view them.
Cropping Exercise Using Paths
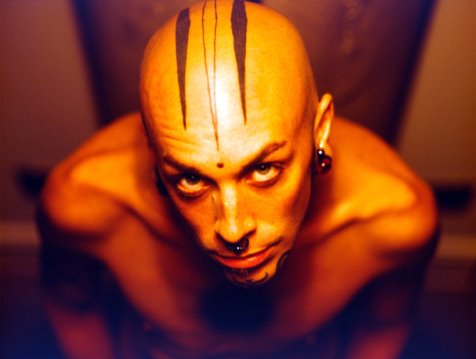
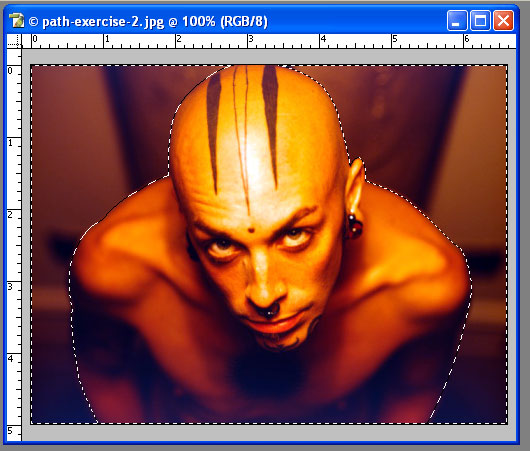
Often you will want to crop out a background, or cut out an object from a photograph. This exercise shows you how. You are going to draw a path around the object - in this case, a bald man. Once the path is drawn, then you will change the path into a "selection," and then inverse the selection, and delete the background.
Instructions:
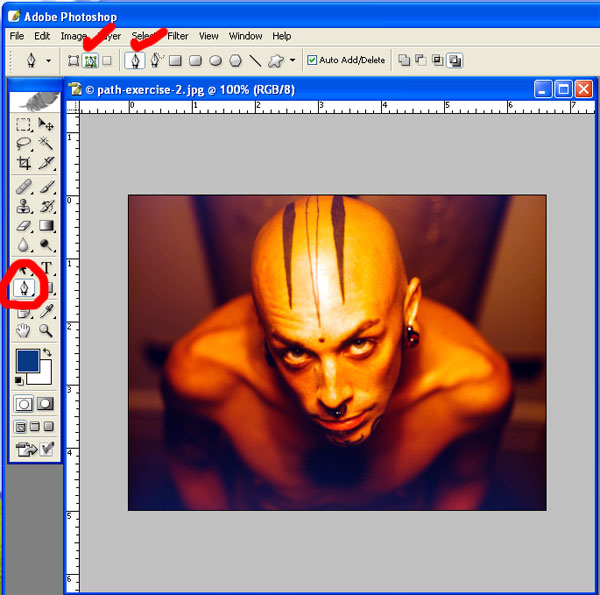
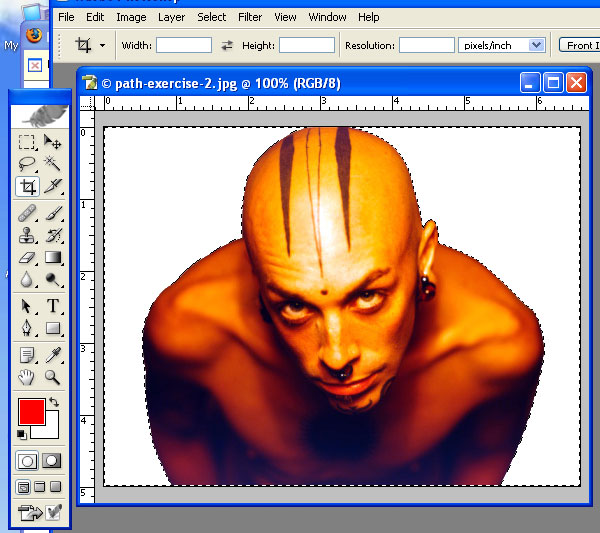
Begin by selecting your Paths Tool. On the context-specific bar on the top, select the "Paths" option, and make sure the "Pen Tools" option is also selected (see red check marks on image).

With your Pen Tool, click to make your Beginning Point of the curve. Click & drag to create the handle bar of your curve - position it half way in between the beginning point and where your end point will go. Let go of your cursor, and then click to make your end point. You have created a curve.

To adjust the arc of your curve, press CTRL and your cursor will turn into an arrow, or pointer. Using the point on the point of the handle bar, move it until the curve fits closely against the object you are drawing around.

To continue the next curve, click on the End Point and drag. This will join the first section of the path to the second section you are creating. Then click an end point. Adjust your curve, and continue. Continue all the way around the object until you have created a CLOSED path - the path should join into one.

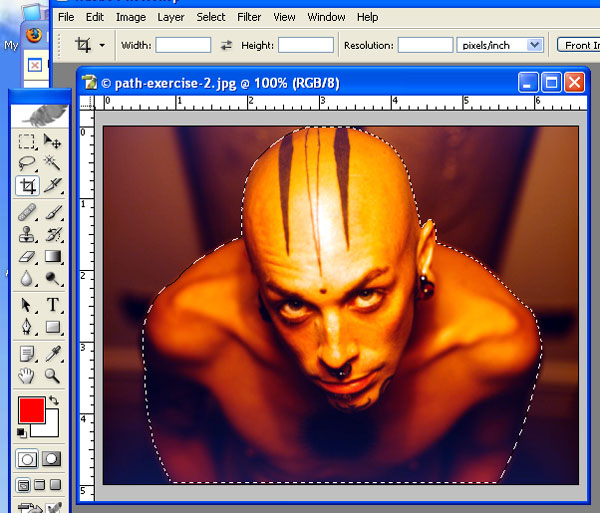
Using your Layers Floating Palette, select the PATHS TAB. You will see the path that you created. Using the small arrow on the palette, click to get the pulldown menu, and the select "Make Selection." This turns your path into a selection. Notice that what is selected is the object - not the background.

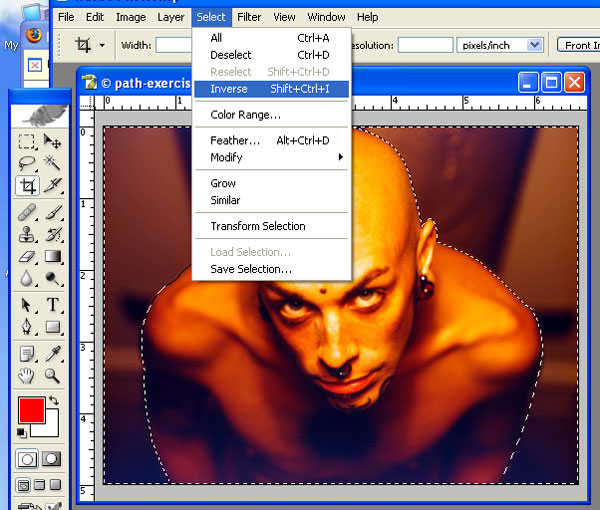
To select the background, you must INVERSE the selection. Go to the SELECT Pulldown Menu, and selection INVERSE. Now notice that the selection area is the background.
To delete the background, first make sure that your background colour on your Tool Bar is set to white. Then press "DELETE" on your keyboard.
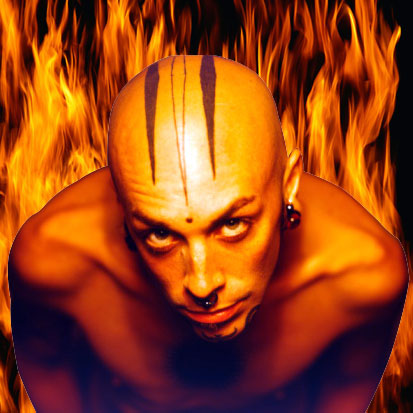
On the other hand, you could copy the figure/object (and not the background) and paste him on top of another photo. In this instance, I've used a fire background.
No comments:
Post a Comment