Here are the steps:
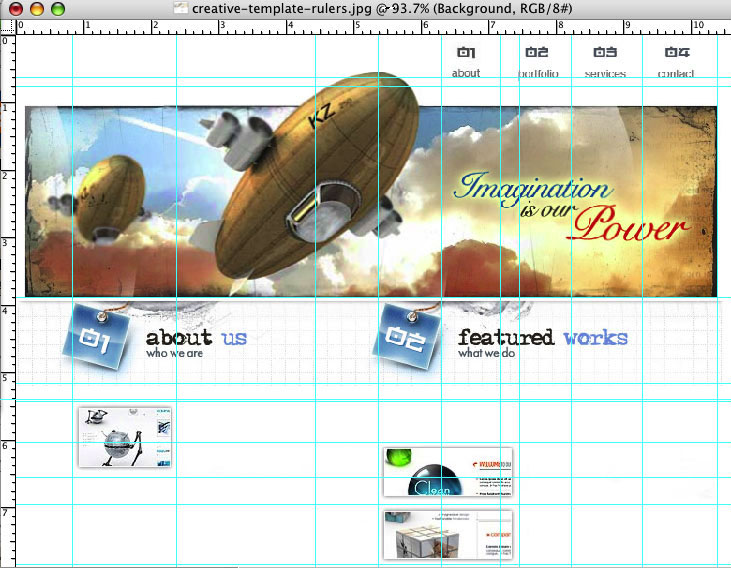
1. Display rulers. Use CTRL "r", or go to the VIEW pulldown menu, and select "Rulers."
2. Right click on the rulers, and have it display "pixels" as the measurement.
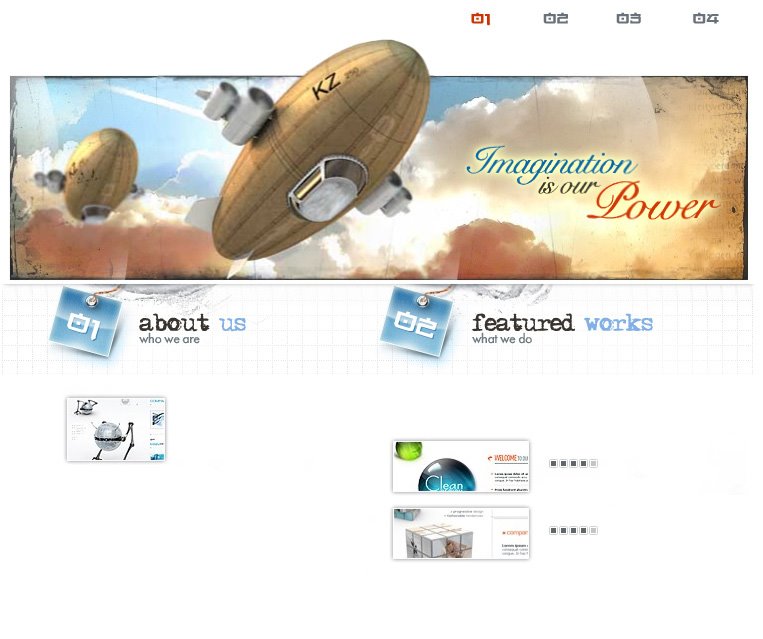
3. To create rollovers, type in the names of your navigational bar using the Text tool. In this instance, the navigational bar names are "about," "portfolio," "services," and "contact."
4. Place a guide underneath "about", by dragging from the middle of the horizontal ruler and down. This will ensure that each button name lines up with the baseline of the text.

5. Place Guides around each section, so that you break up the image into pieces. Use both the horizontal and vertical guides. To delete a guide, place your cursor on the guide, and drag it back into the ruler.
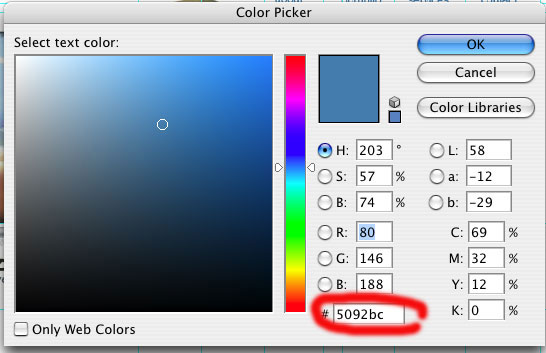
6. Save the image with guides and layers as Web-Site-Design-2-rollover.psd. Then change the colour of your rollover navigation buttons. In this instance, I have changed them to blue to fit with the colour scheme. Use the Photoshop html colour - for example, the blue colour I've used is "#5092bc."
7. Open your original document. Flatten your layers, so that the text layers merge with the background layer. Using your layers palette, click on the small arrowhead, and choose "Flatten Layers." Now you can use the rectangle marquee selection tool, highlight the area you want to chop into a piece, do CTRL "c" to COPY, then CTRL "n" to create a new Photoshop file, click OK, then CTRL "v" to PASTE the image into the new document. Then go to FILE, SAVE FOR WEB, and save the image as either a jpg or a gif, into a new folder called "images."
Once you've done this process for each piece of your web page, open your file titled "Web-Site-Design-2-rollover.psd," flatten the layers, then save the rollover navigational buttons as jpgs or gifs, as above. Make sure to call them something different, such as "about-but-roll.gif."
8. You should have sectioned your web site into individual pieces. The rollover navigational bar should have two files per button - one with the black text, the second with the coloured blue text. Now you're ready to place these images into Dreamweaver, using an html table.
1 comment:
Hey there, I think your site might be having browser compatibility
issues. When I look at your website in Chrome, it looks fine but when opening in Internet Explorer, it has
some overlapping. I just wanted to give you
a quick heads up! Other then that, very good blog!
Here is my weblog ... vakantiehuisjes frankrijk
Post a Comment